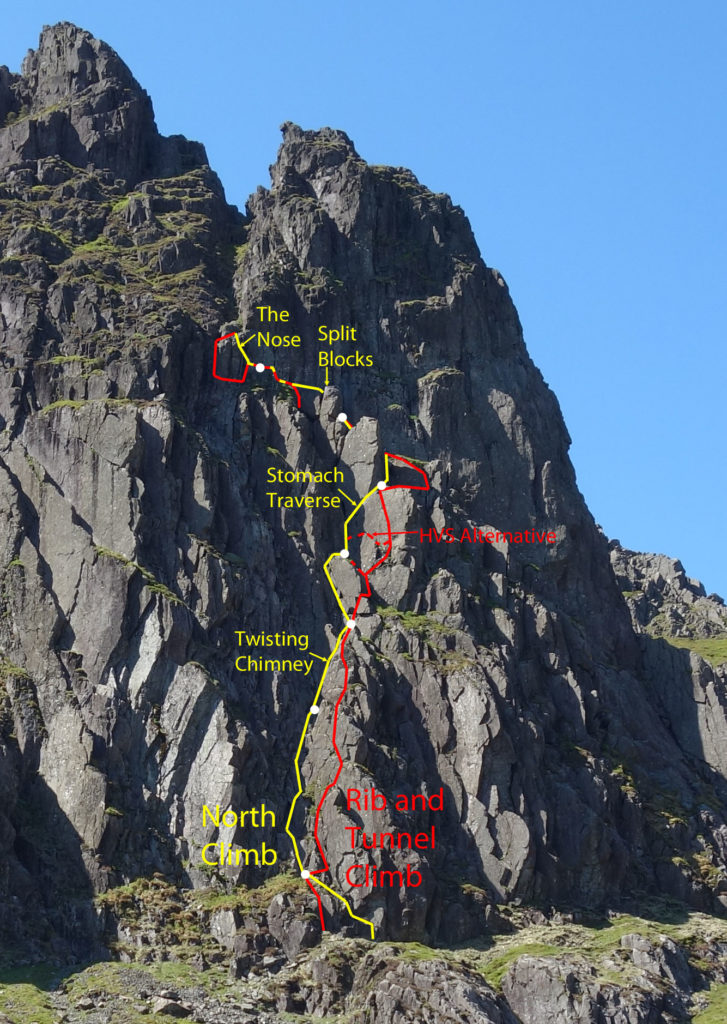
A series of variations on North Climb with a particularly entertaining penultimate pitch (not recommended for the stout!) and a final pitch that involves a new way of overcoming the Nose – quite a find after all the years of exploration by numerous climbers ever since since the 1890s. The lower part follows the rib just right of North Climb. Start just left of North Climb at a short groove.
1 10m (4b). Climb the groove and belay at the start of pitch 2 of North Climb.
2 35m (4c). Move right into a groove on the right and climb it with increasing difficulty to a grass ledge. Overcome two short walls and then a longer wall via a sustained jamming crack. Follow the rib above directly (bold) to a pinnacle belay above Twisting Chimney.
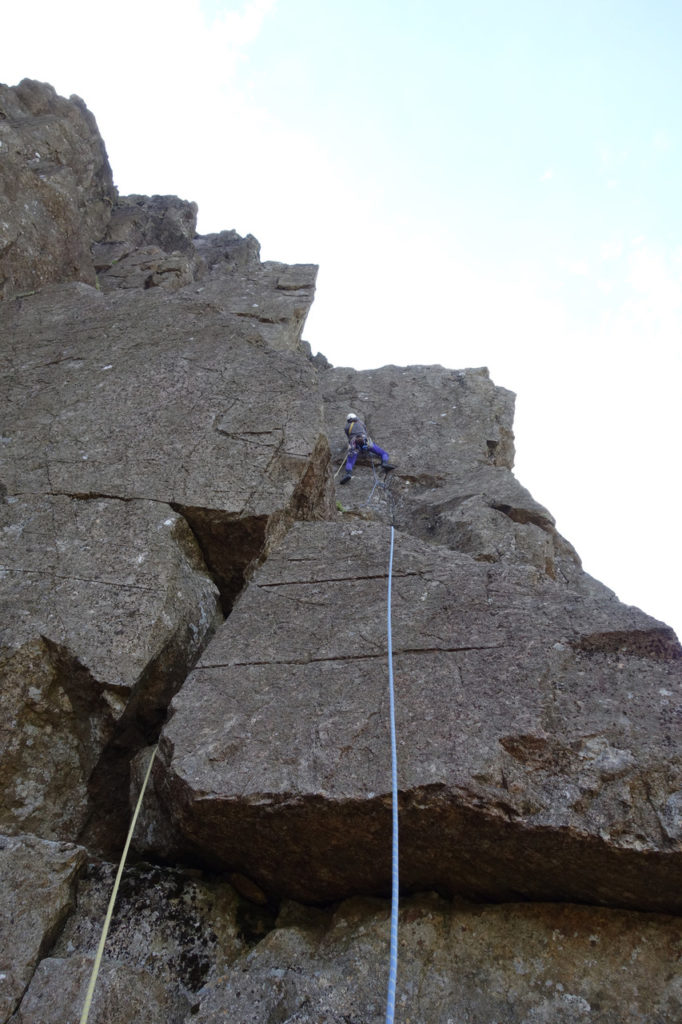
3 33m (5b). Gain the short offwidth crack above and climb it. Traverse right a move or two and climb a chimney and from its top make a very awkward move into a crack on the right and hand traverse a detached block rightwards. Follow the superb layback flake above to belay at the top of the Stomach Traverse.
The difficult crack and block can be avoided by climbing grass at the top of the chimney to the foot of the Stomach Traverse pitch, then descending diagonally rightwards to the layback flake. This reduces the grade to HVS (5a).
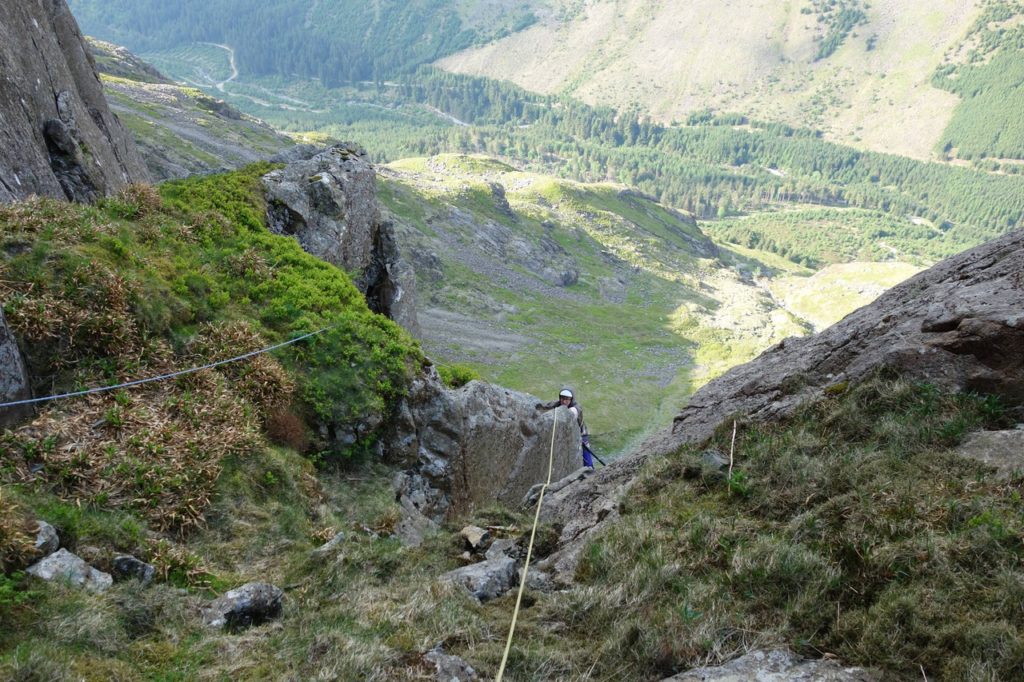
4 15m (5a). Traverse right to small pinnacle. Stand on this and climb the blunt rib above with difficulty. Go up leftwards to the Split Blocks.
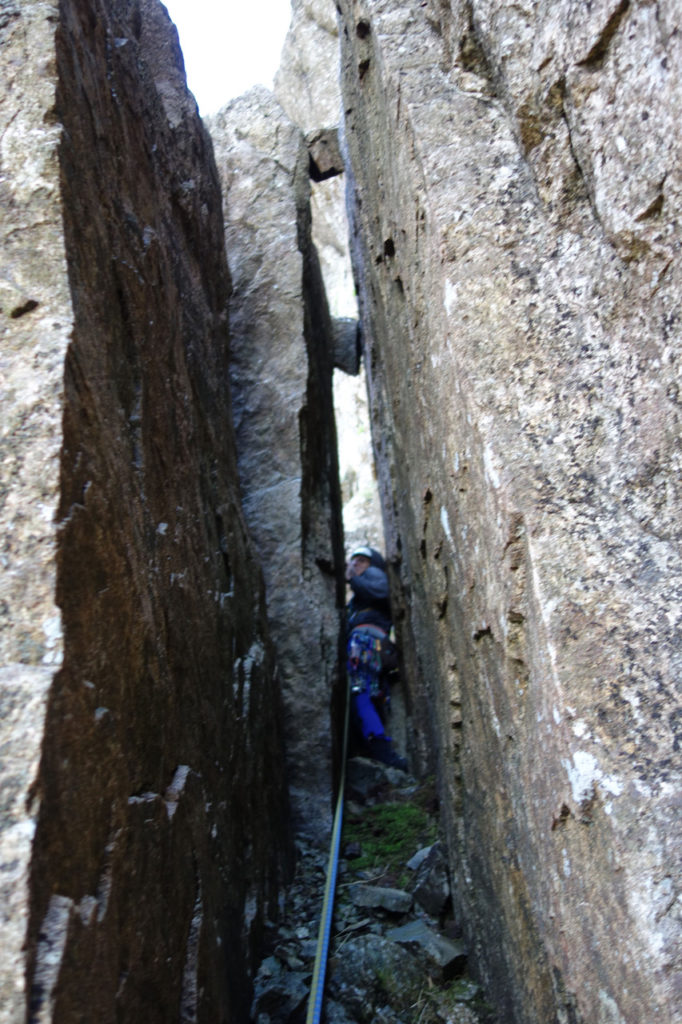
5 8m (4b). Harder, if not impossible, for the fat. Climb into the Split but instead of turning left continue straight on (best done on one’s stomach) to squeeze out the far end into an open chimney. Climb this, exiting leftwards to belay just before the Nose on North Climb.
6 11m (4c/5a). Harder for the short. Step left and descend 3m to a ledge under the Nose. Traverse left and make a long reach left for a good hold on the arête. Swing across to pull up into the upper part of the square chimney of the last pitch of Savage Gully and finish up this.
Photo captions are as follows:
Photo 1: Route diagram showing it’s relationship to North Climb.
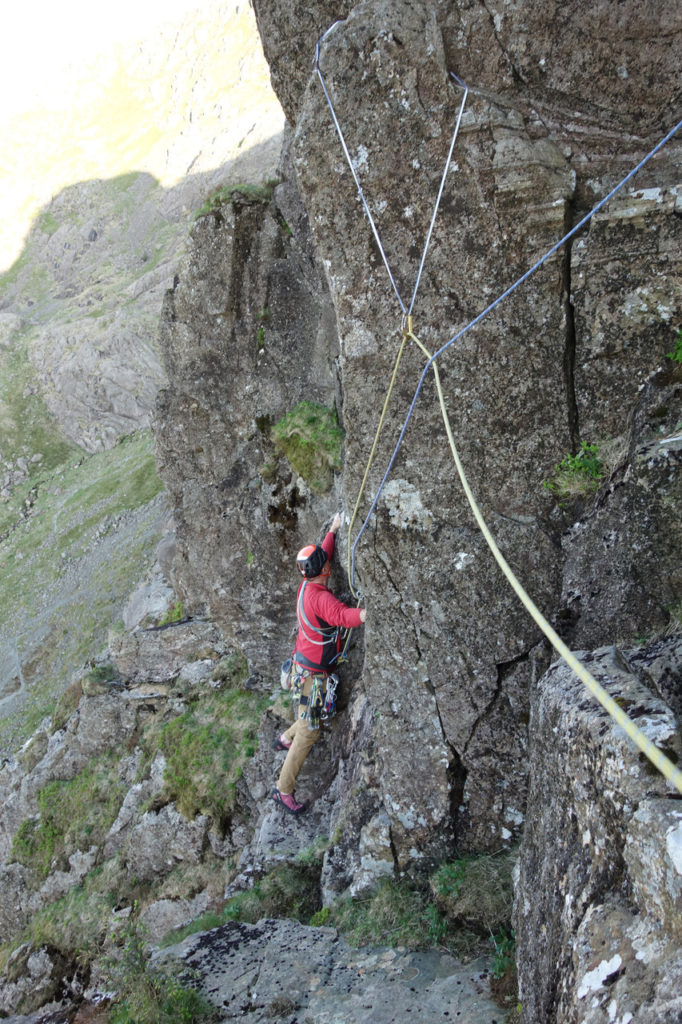
Photo 2: Chris King about to start the superb layback crack of pitch 3.
Photo 3: Chris King searching fruitlessly for a handhold at the top of the blunt rib of pitch 4.
Photo 4: The whippet-like Mr King making light work of the Split Blocks Direct.
Photo 5: Stephen Reid making the long reach out for the crucial handhold on the final pitch.
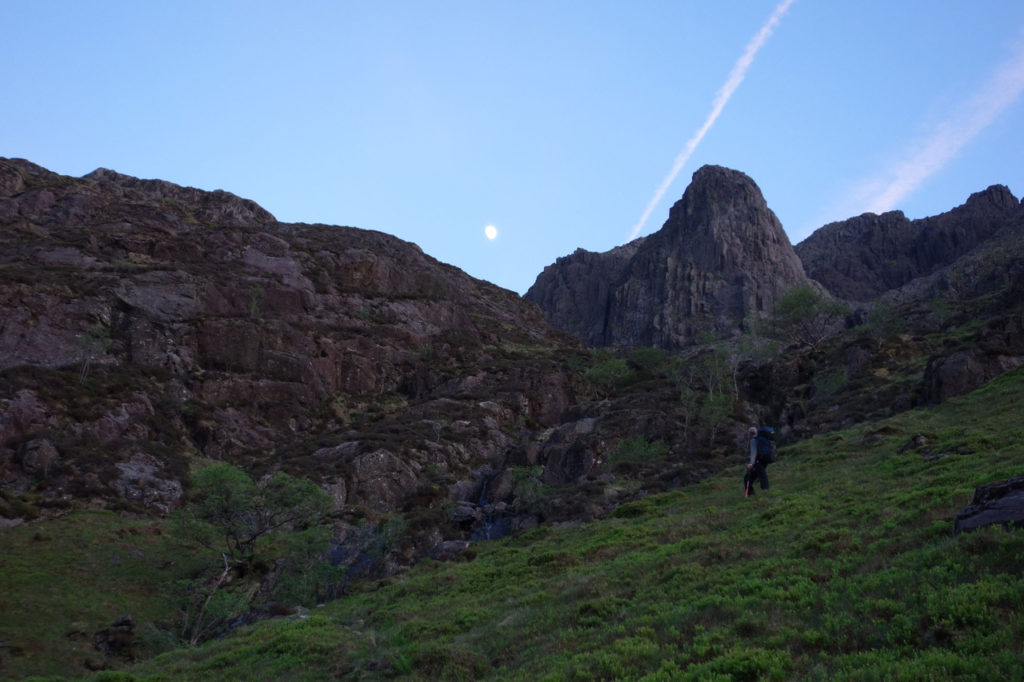
Photo 6: The end of a long day.